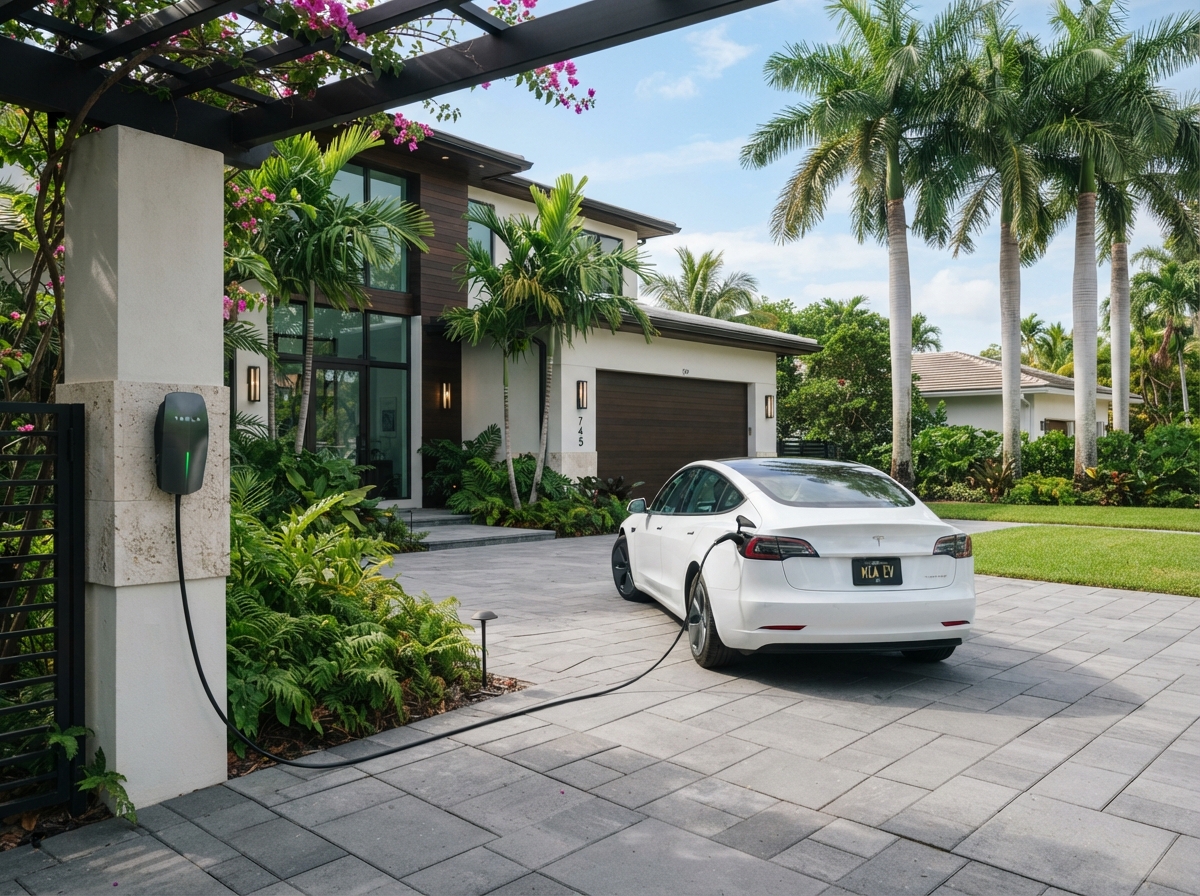
Installing an EV charger at home is one of the most convenient ways to keep your electric vehicle ready to drive. But before a charger goes on the wall, several electrical factors need to be evaluated. This guide explains the key steps so you know what to expect.
Step 1: Evaluate Your Electrical Capacity
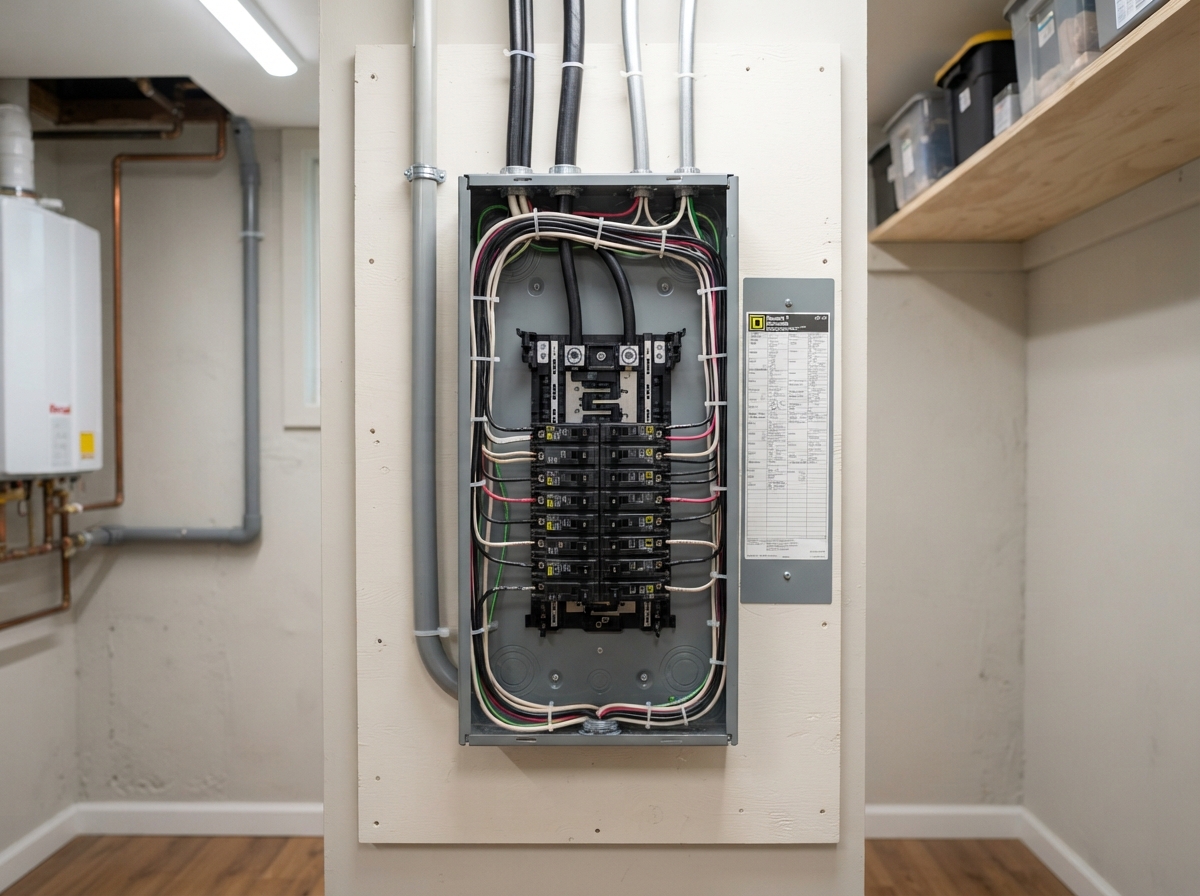
Every EV charger draws significant current. An electrician checks whether your existing electrical panel and service have enough capacity to support a dedicated charging circuit. If not, a panel or service upgrade may be needed first.
Step 2: Choose a Charger Location
- Near where the vehicle is parked, typically a garage or driveway.
- Close to the electrical panel to minimize conduit runs.
- Protected from weather if installed outdoors.
- At a height that allows the cable to reach the charge port comfortably.
Step 3: Install a Dedicated Circuit
EV chargers require a dedicated circuit, meaning the circuit serves only the charger and is not shared with other outlets or appliances. This prevents overloads and ensures reliable charging.
Level 1 vs. Level 2 Charging
- Level 1 uses a standard 120V outlet and charges slowly — suitable for plug-in hybrids or low-mileage drivers.
- Level 2 uses a 240V dedicated circuit and charges significantly faster — the recommended choice for most EV owners.
Step 4: Panel or Service Upgrades
If your panel does not have room for a new circuit or your service capacity is too low, an upgrade may be required. This is common in older homes or when multiple chargers are planned for a multifamily property.
Step 5: Installation and Testing
Once the circuit is in place, the charger is mounted, wired and tested to confirm it operates correctly and safely. The electrician verifies the circuit, breaker and charger connection before the installation is complete.